Kotlin Native 调用C语言的简单示例
- 下载并编译Kotlin native https://github.com/JetBrains/kotlin-native
- 创建hello.h文件,在其中输入如下代码
void sayHello(); - 创建hello.c文件,在其中输入如下代码
#include "hello.h" #include <stdio.h> void sayHello(){ printf("Hello Kotlin Native\n"); } - 创建hello.def文件,在其中输入如下代码
 headers = hello.h
 headerFilter = hello.h
在默认情况下cinterop会分析引入所有的头文件,而此时并无必要,所以配置headerFilter属性为hello.h目的是只分析引入该文件
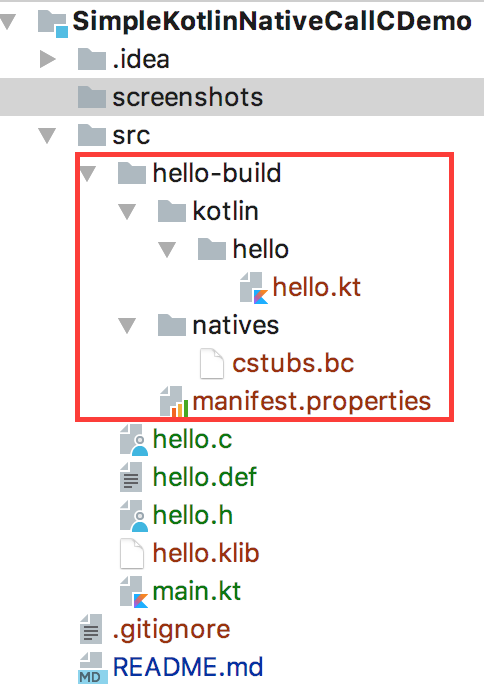
- 执行如下命令用以分析hello.h文件,并自动生成kotlin定义
cinterop -def hello.def -copt -I. -o hello其中-I指的是头文件目录,-o指的是输出名字,该命令执行后将生成目录结构如下图所示
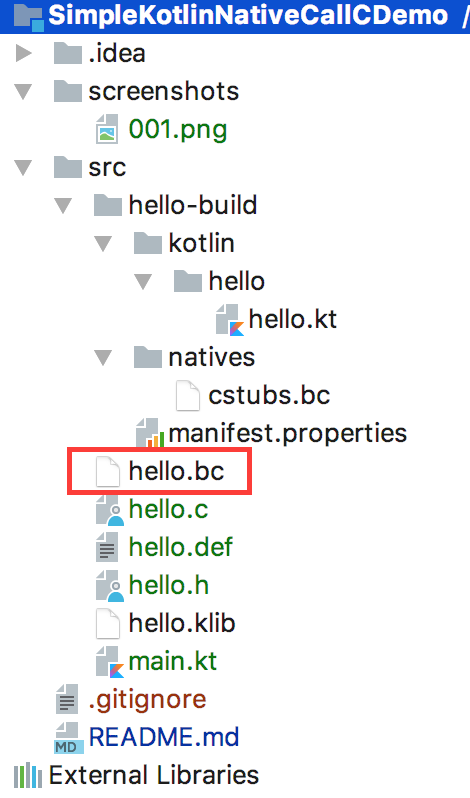
- 执行如下命令用于生成本机库(native library)文件
clang -c hello.c -o hello.bc -emit-llvm该命令将生成hello.bc文件,如下图所示
- 创建main.kt文件,在其中输入如下代码
import hello.* fun main(args: Array<String>) { sayHello() } - 执行如下命令编译该程序
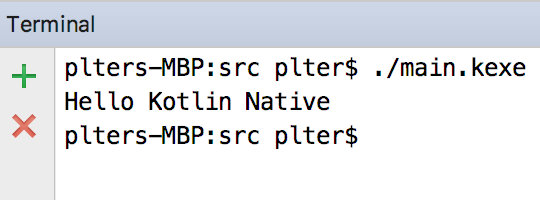
kotlinc main.kt -library hello -nativelibrary hello.bc -o main该代码将生成main.kexe文件
- 执行该文件,将会看到输出信息,效果如下图所示